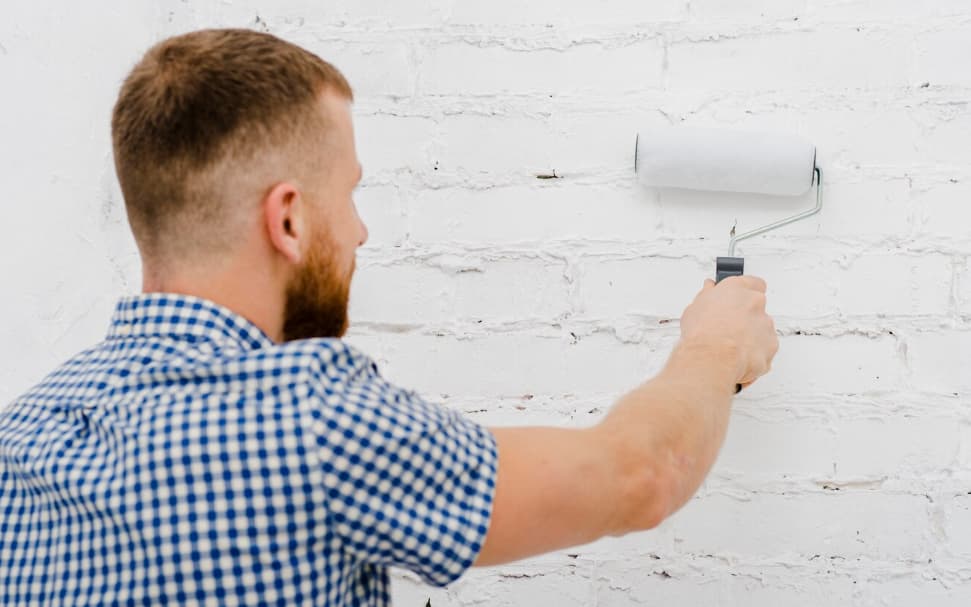
Painting a room may seem like a simple task—just pick a color and grab a brush, right? Not quite. The key to a smooth, professional-looking paint job lies in the preparation. If your walls aren’t properly prepped, even the highest-quality paint and tools won’t deliver the results you want.
Whether you’re tackling a DIY project or preparing your space for professional painters in West Hartford, CT, this guide will show you how to prep your walls like a pro before applying that first coat.
Why Wall Prep Is So Important
Proper preparation:
- Ensures paint adheres properly
- Prevents bubbling, peeling, or flaking
- Creates a smooth, even finish
- Helps paint last longer and look cleaner
Skipping these steps may save time in the short term, but it almost always leads to frustrating results and costly do-overs.
Step-by-Step: How to Prep Your Walls for Painting
Step 1: Clean the Walls
Dust, grease, and grime will prevent paint from sticking. Start by:
- Dusting walls with a dry microfiber cloth or duster
- Washing walls with warm water and mild detergent (especially in kitchens and bathrooms)
- Letting walls fully dry before moving to the next step
Pro Tip: Use TSP (trisodium phosphate) for greasy kitchen walls.
Step 2: Repair Damage
Even small cracks or nail holes will show through your paint. Here’s how to fix them:
- Fill nail holes and dents with spackle or joint compound
- Use a putty knife to smooth the surface
- Sand the patched areas once dry with fine-grit sandpaper
- For larger holes, consider using a patch kit
Don’t forget to check corners, trim lines, and ceiling edges for imperfections.
Step 3: Remove Old Paint Flakes
If your walls have peeling paint:
- Use a paint scraper or putty knife to remove loose flakes
- Sand down the edges to blend old and new areas
- Wipe away dust with a damp cloth
Paint won’t stick well to flaking or glossy surfaces, so this step is crucial for older homes in West Hartford.
Step 4: Sand Glossy Surfaces
High-sheen paint finishes like semi-gloss or gloss need to be sanded so the new paint can grip the surface.
Use:
- Medium to fine-grit sandpaper
- A sanding block or pole sander for large walls
- Light, circular motions to scuff the surface (not strip it)
Step 5: Wipe Down After Sanding
Always wipe the walls with a damp cloth or tack cloth to remove dust left by sanding. Skipping this step can leave your new paint job looking gritty.
Step 6: Protect Floors and Fixtures
Before you open a paint can:
- Lay down drop cloths or plastic sheets
- Use painter’s tape on baseboards, windows, door frames, and trim
- Remove outlet covers, switch plates, and wall hangings
This protects surfaces and gives you cleaner edges—just like the pros do.
Step 7: Prime Where Needed
Not every wall needs primer, but in the following situations, it’s a must:
- Unpainted drywall or plaster
- Stained or patched walls
- Dark paint being covered with a lighter shade
- Areas prone to moisture, like bathrooms
Primer helps paint go on evenly and improves coverage, durability, and adhesion.
When to Call in the Pros
While DIY prep is possible, working with professionals ensures no corners are cut—literally or figuratively. That’s why many West Hartford homeowners turn to Glastonbury Professionals House Painters.
They handle:
- Full surface inspections and repairs
- Precision sanding and patching
- Clean taping and edge protection
- Priming and painting using top-tier tools and products
Need a House Painter in West Hartford? Let’s Get Started
If you want that magazine-worthy paint job, don’t skip the prep. From cleaning to sanding to priming, these steps set the foundation for a beautiful, lasting finish. It’s the difference between “good enough” and “wow.”
Whether you’re doing it yourself or hiring the pros, remember: how you prepare is just as important as how you paint.
Glastonbury Professionals House Painters
147 Grandview Dr Room 1, Glastonbury, CT 06033, United States
Phone Number: +18608313979